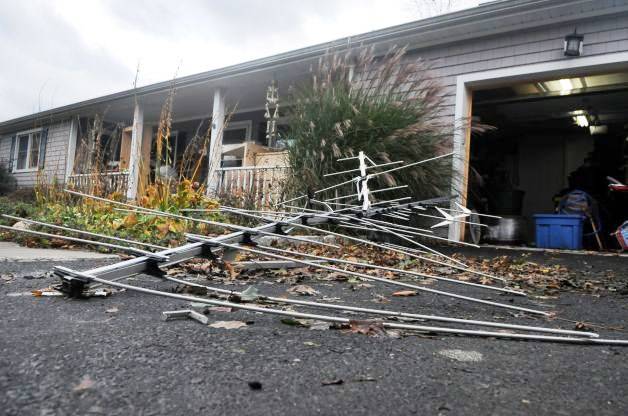
Why You Should Always Have Your Antenna Professionally Installed
When it comes to antenna installation, Do-it-Yourself (DIY) is an attractive solution for many. While there is no doubt that this solution is more cost-effective in the short term, many customers often end up spending more than necessary in the long run. Here at Jim’s Antennas we’ve seen quite a few DIY-Don’ts that often end up in our clients paying a lot more than what they would have if they’d originally gone for professional installation. These mistakes are commonly a result of purchasing incorrect equipment, improper installation due to lack of expertise and experience or damaging an existing system in an attempt to fix it.
Ultimately, DIY installation is can be a safety risk and may cause damage to your new system or even roofing. If you are still thinking about installing your system yourself, it is also important to keep in mind that there is no warranty period.
Here at Jim’s Antennas we offer a minimum warranty period of 1 year on all products and installation. As our team takes pride in ensuring that each and every customer is satisfied with our work, all work is also backed by the Jim’s Group Guarantee.
If you’re still tossing up between DIY and professional installation, read the following two case studies to learn more about mistakes commonly seen with DIY solutions and the value of professional installation.
DIY Damage
Grant from Jim’s Antennas recently assisted a customer in Lutana who was experiencing poor TV reception. After arriving on site, Grant was able to immediately identify the reason for this issue.
His customer had an old analogue antenna which was mounted extremely poorly.
Even if the antenna had been new, this DIY mount job, in which the antenna was loosely secured and left to twist around in the breeze, would have resulted in a similar outcome.
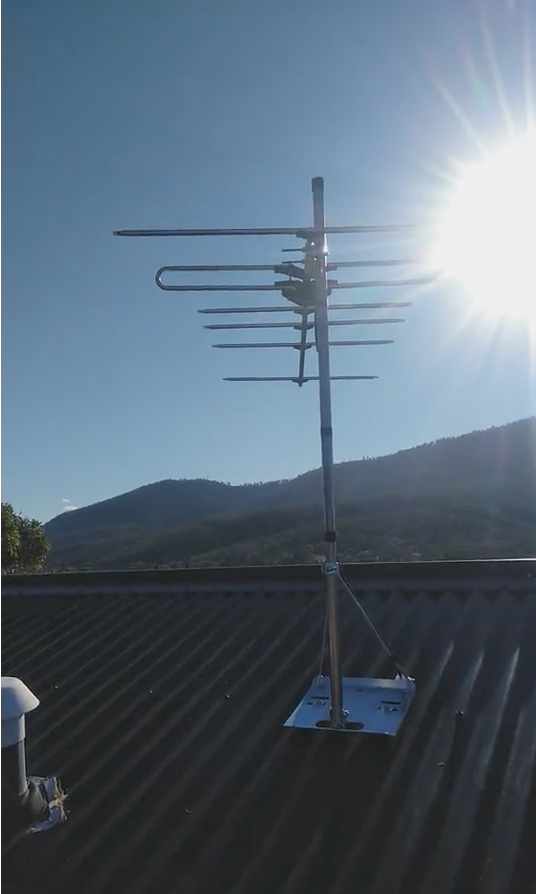
To fix this issue, Grant installed a tripod mount, and used silicone and oversized screws to securely attach the antenna directly to a timber rafter in the roof. He also installed a new digital TV antenna, and pointed it towards Mt Wellington.
With the antenna now properly fixed in place and pointing in the right direction, his client can now finally enjoy a strong signal!
The Value of Professional Tools, Years of Experience and Local Expertise
During another job in which Grant was installing an antenna in the outskirts of Norfolk on the Hobart side, he found himself in a situation where he was unable to receive a direct line of site for both the UHF in Norfolk and Mt Wellington.
While most antenna installations rely on a clear line of site, Grant drew on his experience and local expertise to achieve the best signal possible. Using a signal strength meter he was able to determine that the best signal he could get for his customer is a reflective/bounce signal. In this situation, the signal comes from Mt Wellington and travels over the hill that sits behind the property, before hitting a hill in front of the house and coming back to the customer’s antenna.
Although not an ideal solution (line of site is preferred), it was the best option given the location of this client’s property. By using this method Grant was able to significantly improve signal strength and quality, allowing his customer to finally be able to sit back and relax by watching their favourite TV shows and movies.
